Jason Cousineau Solutions Inc.

Practical Innovation & First-Principles Engineering

Home / Free Tools And Solutions / Keurig Boiler Fix

Keurig Boiler Fix

(Written January 19, 2026 by Jason Cousineau)

This fix was performed on a Keurig K-Compact K35.

The machine had been stored in an unheated trailer during Canadian winter temperatures (around -40°). The owner later discovered that the machine would no longer complete a brew cycle. Instead, it leaked water out the bottom.

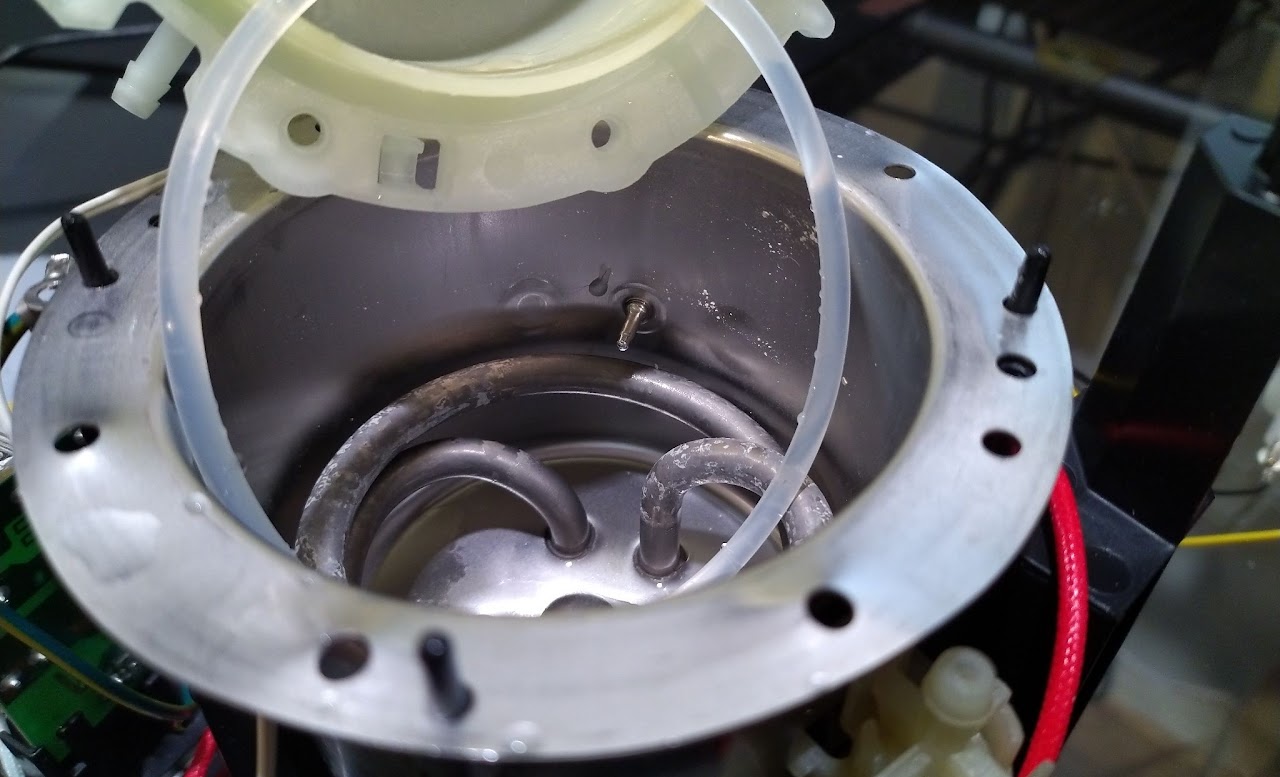
Disassembly revealed the cause: the thin aluminum rim where the plastic housing meets the boiler had warped, most likely because the plastic contracted more than the aluminum during the extreme cold.

No other documented repairs for this exact symptom and fix were found online (across Reddit, iFixit, YouTube teardowns, and forums). Most sources suggest temporary or expensive measures such as greasing the seam, replacing O-rings, replacing the boiler, or replacing the machine entirely. The method described here straightens the warped aluminum rim and adds extra bolts to reinforce the assembly, addressing the root cause (uneven pressure on the O-ring) rather than a symptom of it. It's a more durable fix than the alternatives above, and considerably cheaper too.
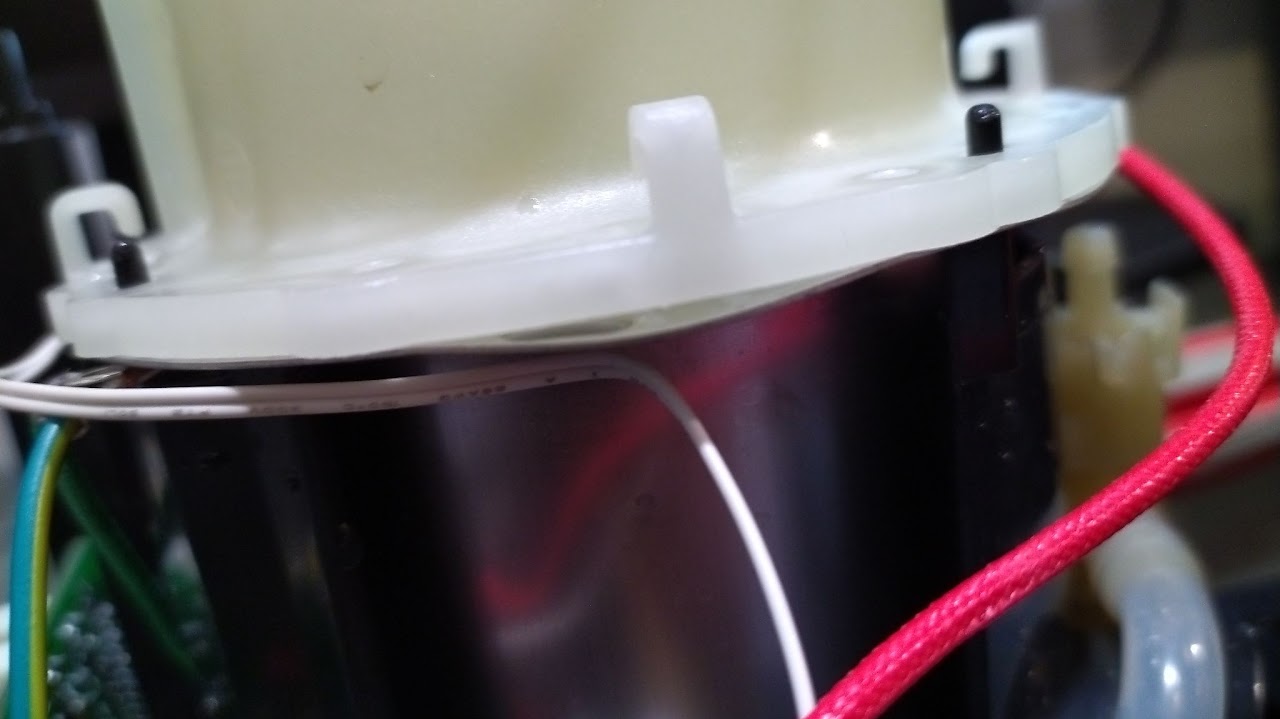
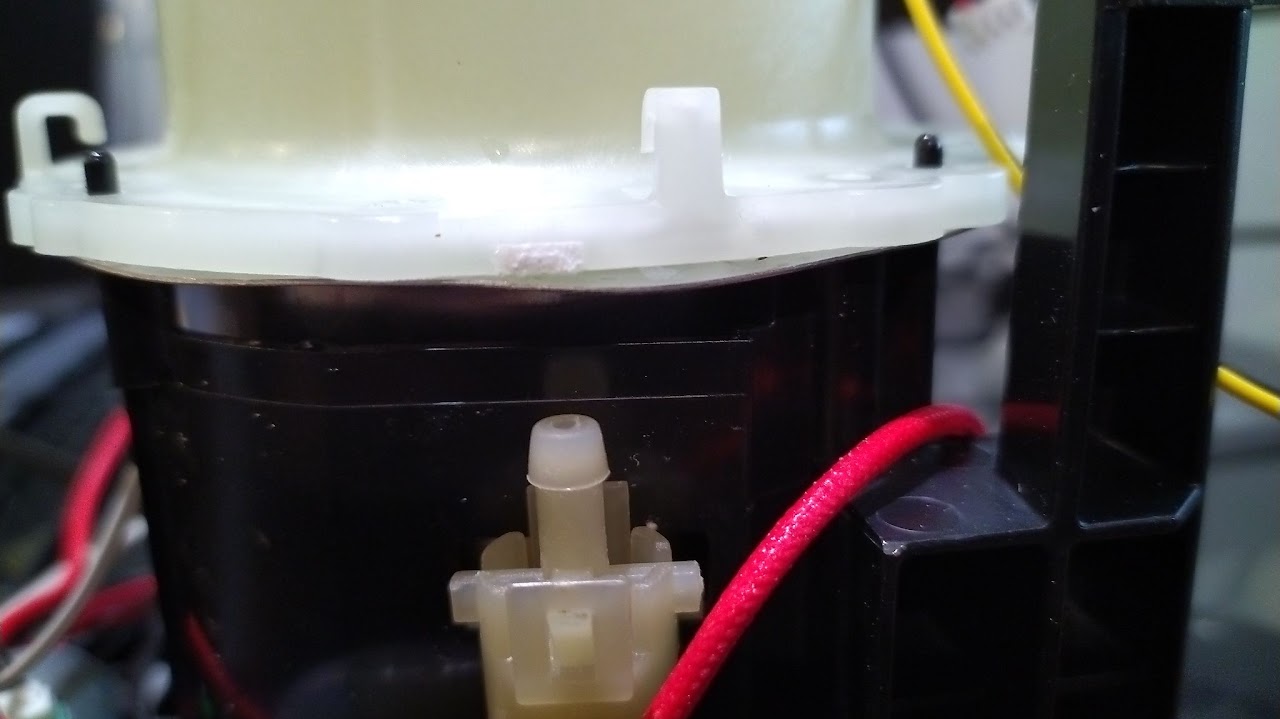
The warped aluminum rim allowed air and water to bypass the O-ring seal. This was confirmed by a simple “pressure test”: covering three of the boiler's openings with fingers and blowing air into the fourth caused air to rush out from the warped areas.

The boiler also contained a considerable amount of scale and hard-water buildup, both inside the boiler and on/under the O-ring. All scale was thoroughly cleaned off.

Some online fixes suggest using silicone sealant or similar methods to reseal these boilers. However, the O-ring in this case remained very flexible and in good condition. The root problem was the warped aluminum, not degradation of the seal.

To straighten the aluminum rim, a small vise and wooden cutting board were used. The wood prevented the vise jaws from digging into or marring the smooth aluminum surface. The wood can be any shape; the curved piece used here was ideal for the photo but not strictly necessary.
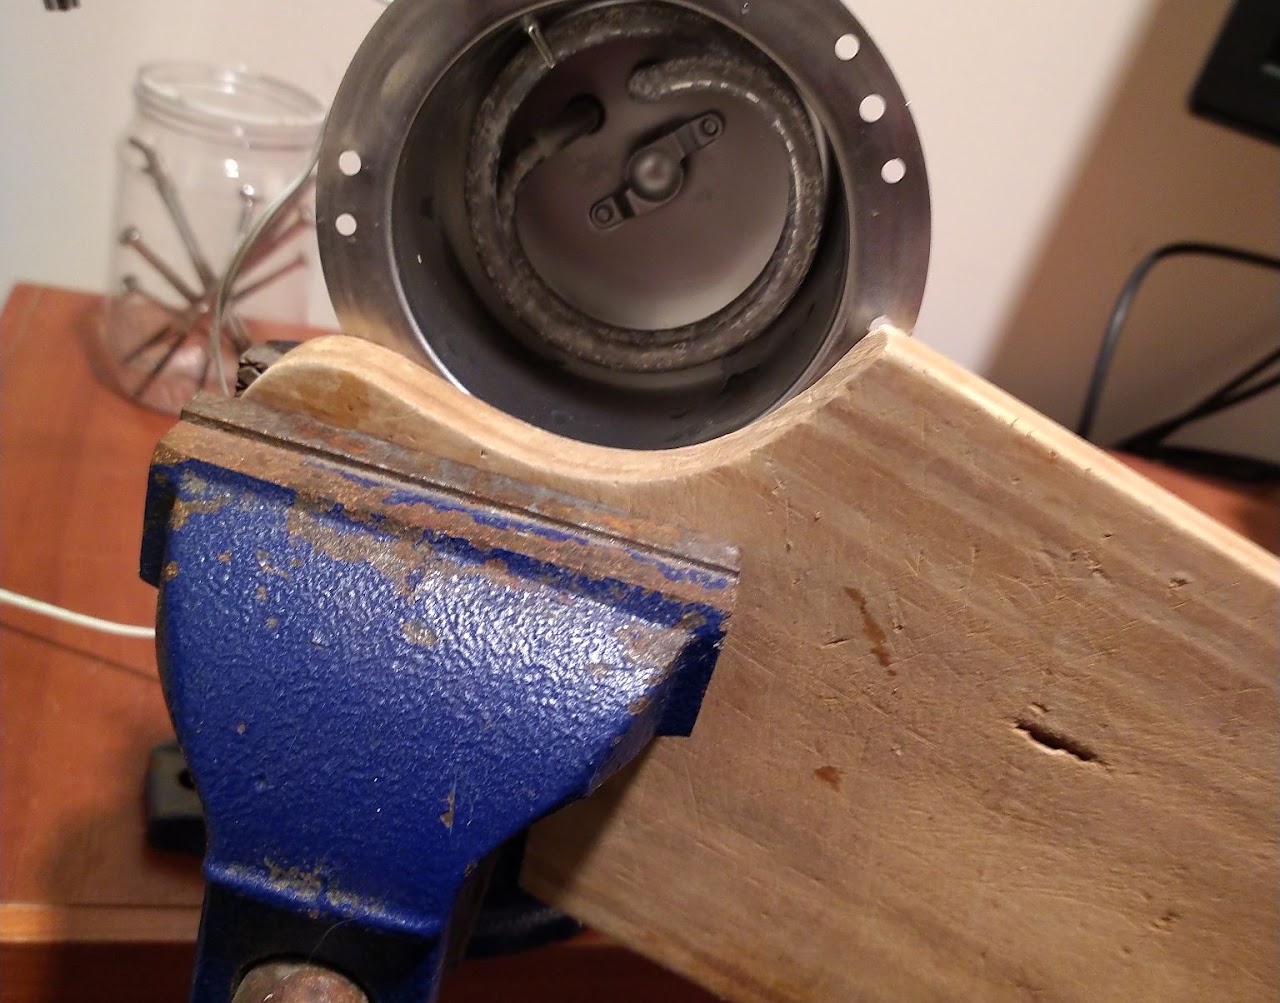
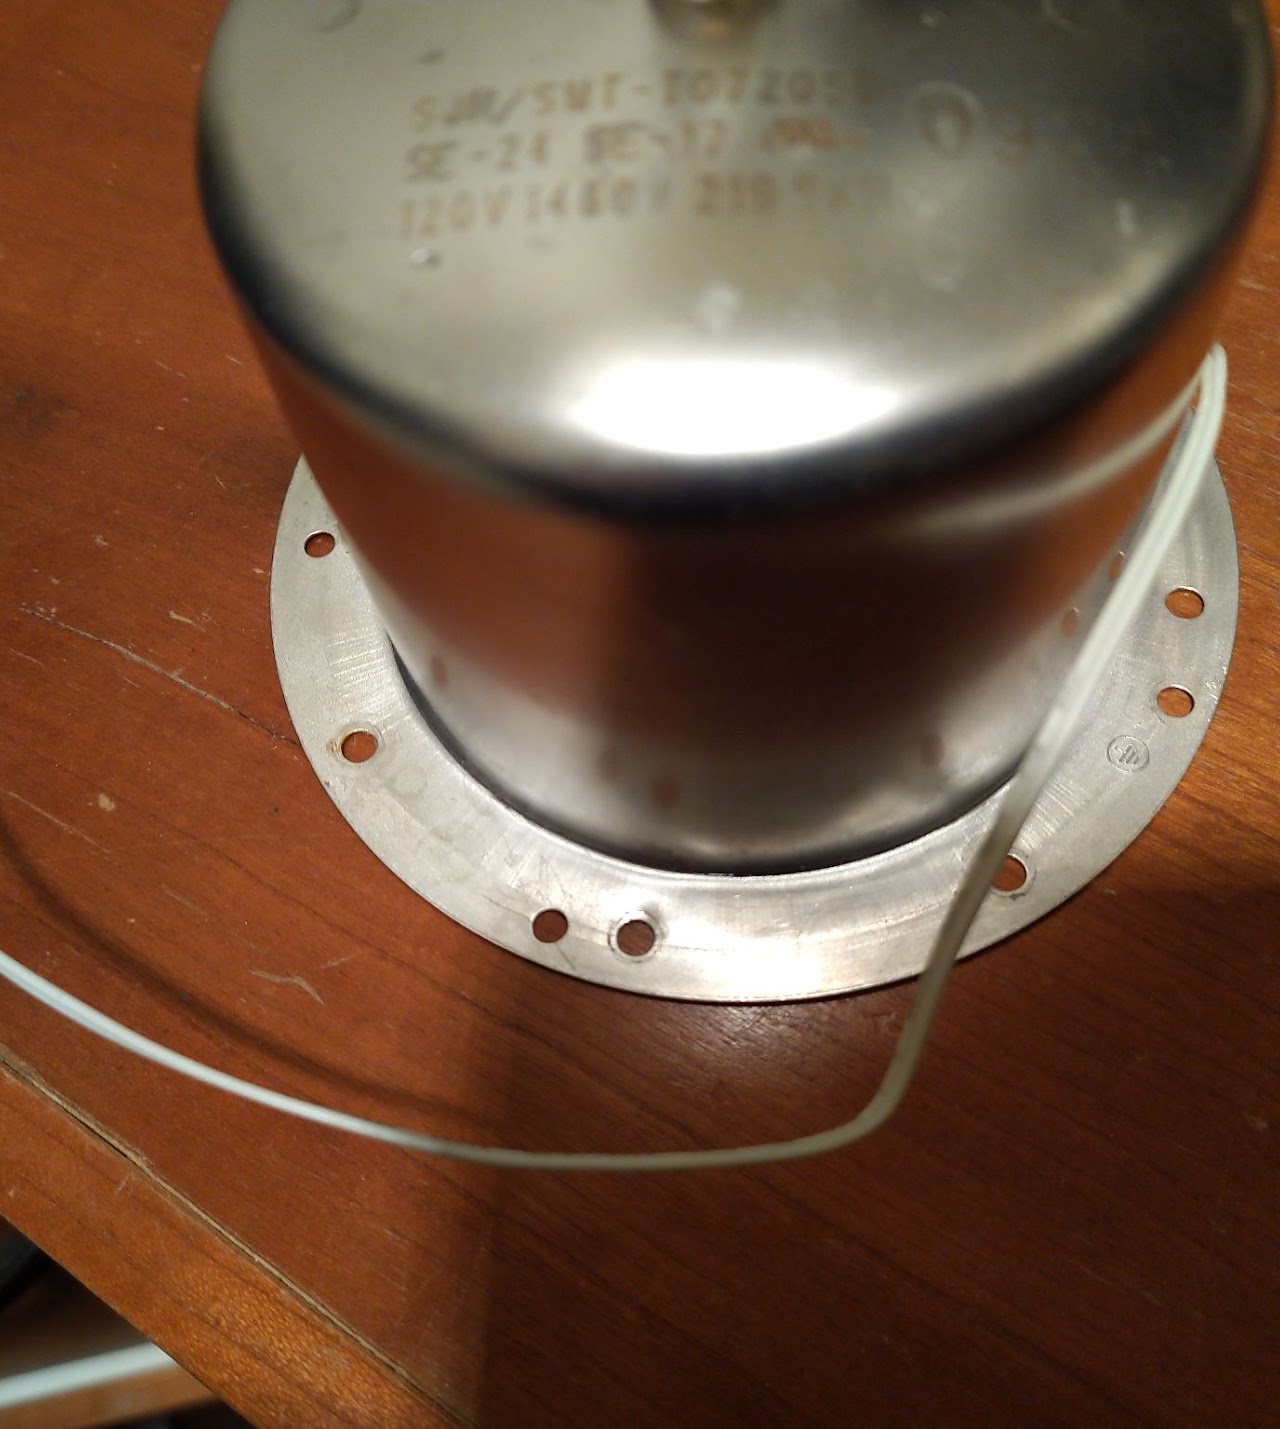
After working around the rim with the vise, the lower aluminum part of the boiler became nice and straight. This could be verified by placing it on a flat surface: no rocking or gaps were present.

To prevent future warping and ensure even pressure on the O-ring, the number of nuts and bolts holding the plastic housing to the metal rim was doubled. Additional holes were drilled through the rim and plastic flange, followed by the installation of matching machine screws, nuts, and washers.
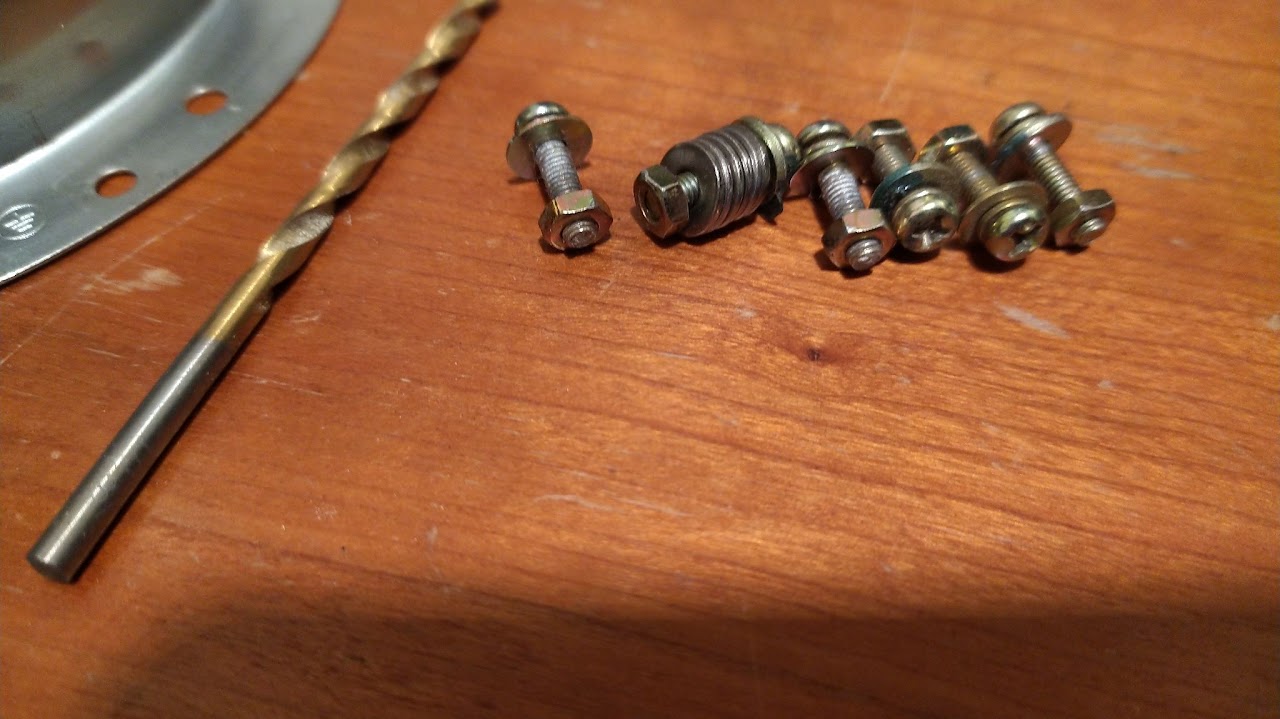
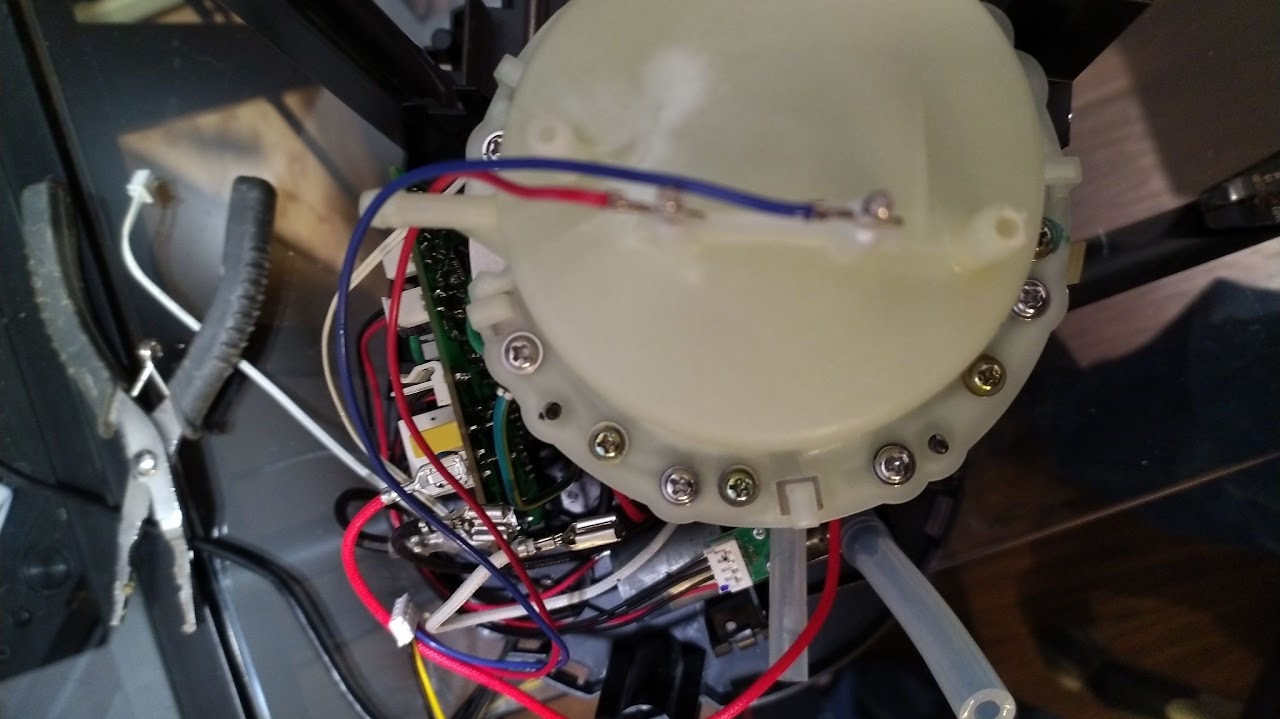
A second “pressure test” was performed after tightening both the original and newly added nuts and bolts. No air leaked from the seam, confirming that the boiler could now hold pressure reliably. With this verification, the machine was fully reassembled.

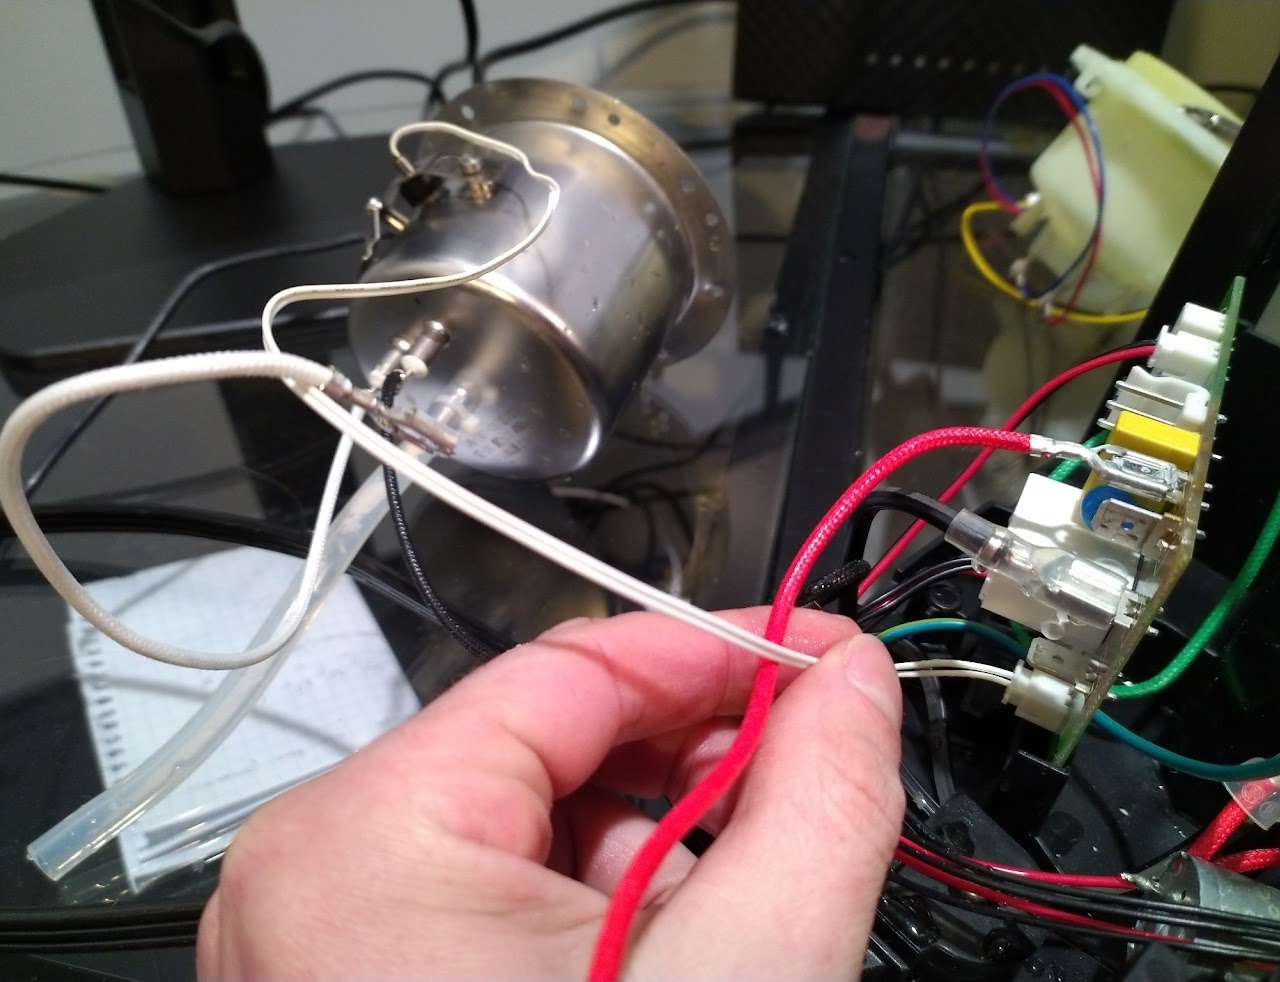
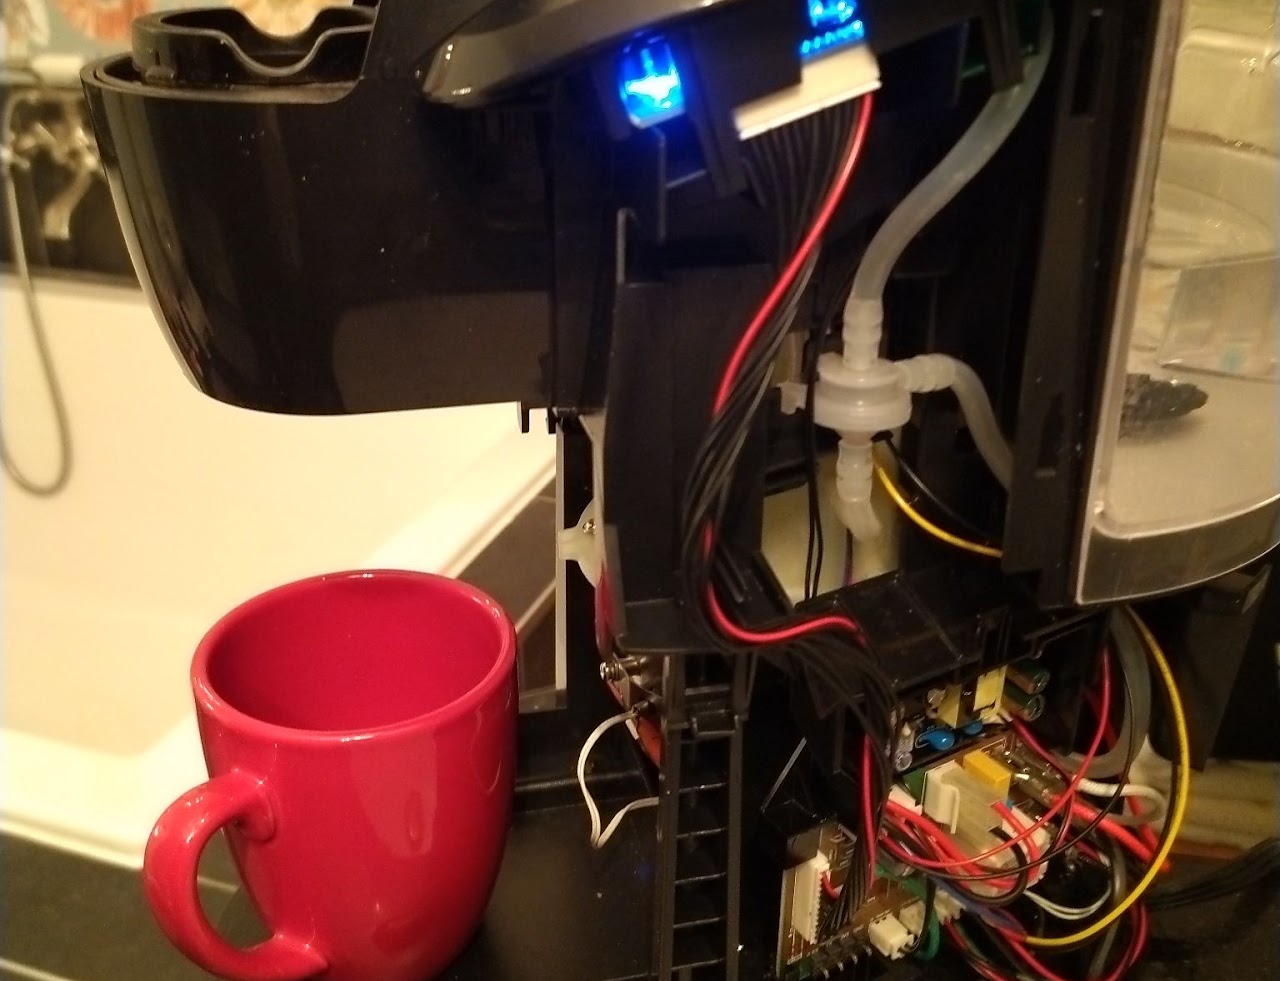
Photographs of the wiring are included below, as the boiler contains numerous wires that can be difficult to reconnect correctly without reference. In hindsight, taking photos of the tubing connections or marking the tubes during disassembly would have been beneficial. However, most tubes can be matched to their correct positions based on their length and diameter alone.
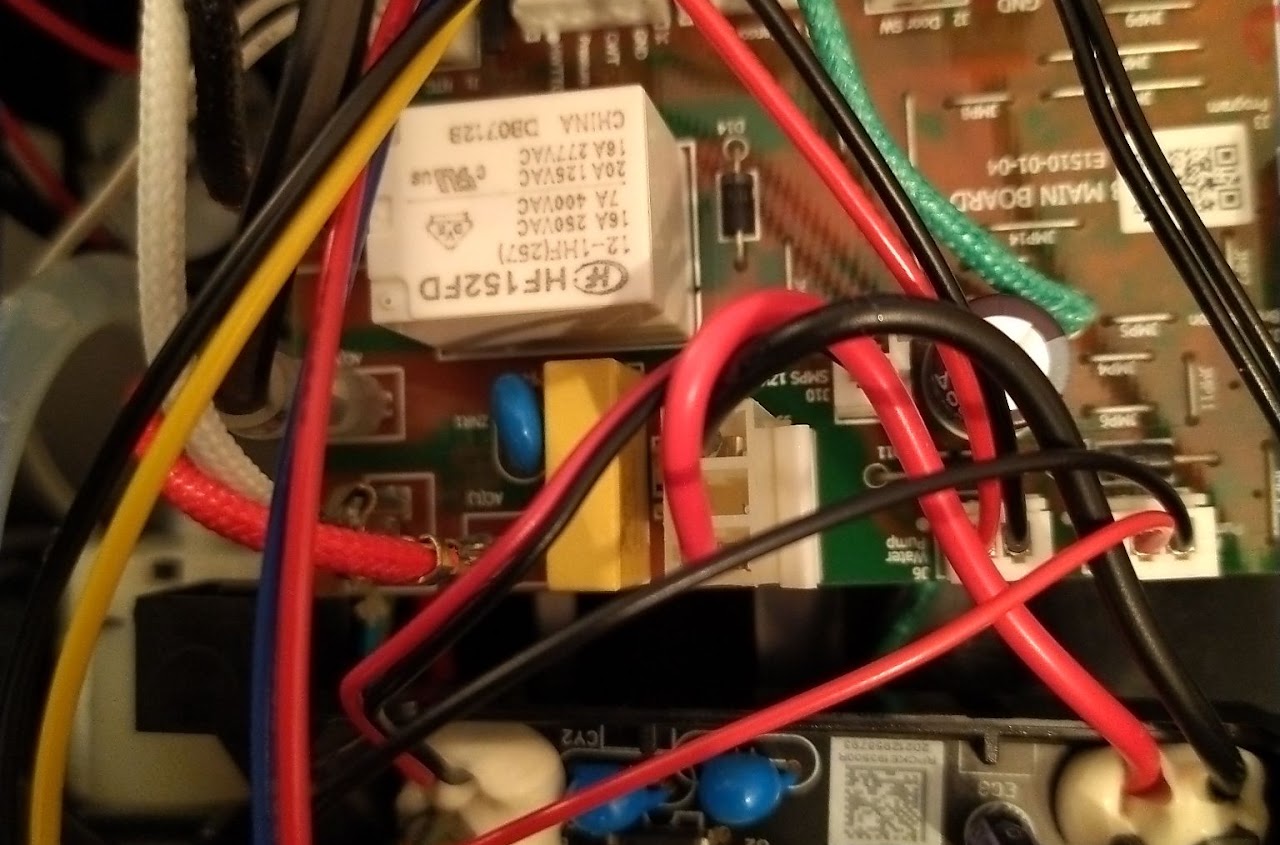
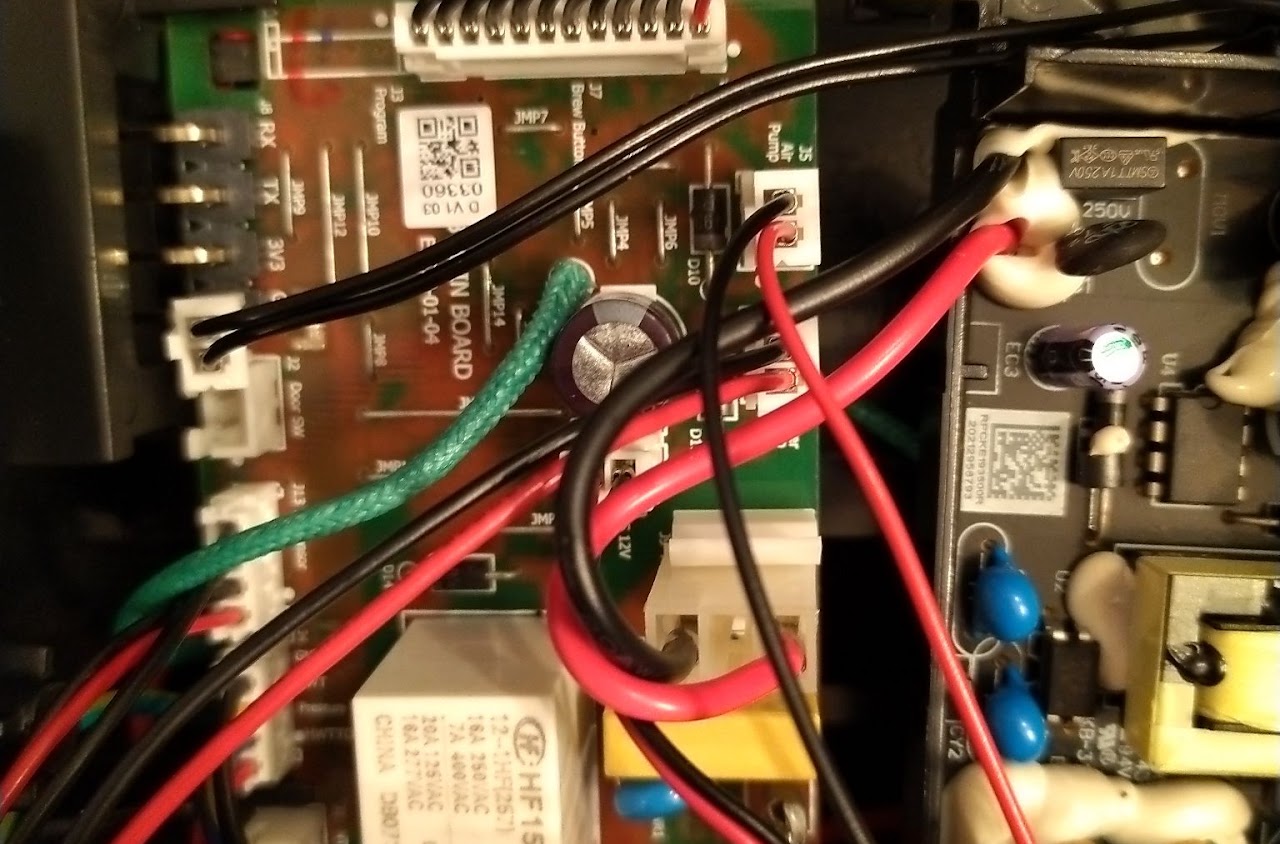
With the machine disassembled, several of the tubes were found to contain a fair amount of scale buildup. This was a good opportunity to disconnect them and clean them out.

After the machine was fully reassembled, a full tank of white vinegar was run through the system to descale any remaining internal buildup. This was followed by several tanks of clean water to flush out the vinegar and eliminate any residual odor.
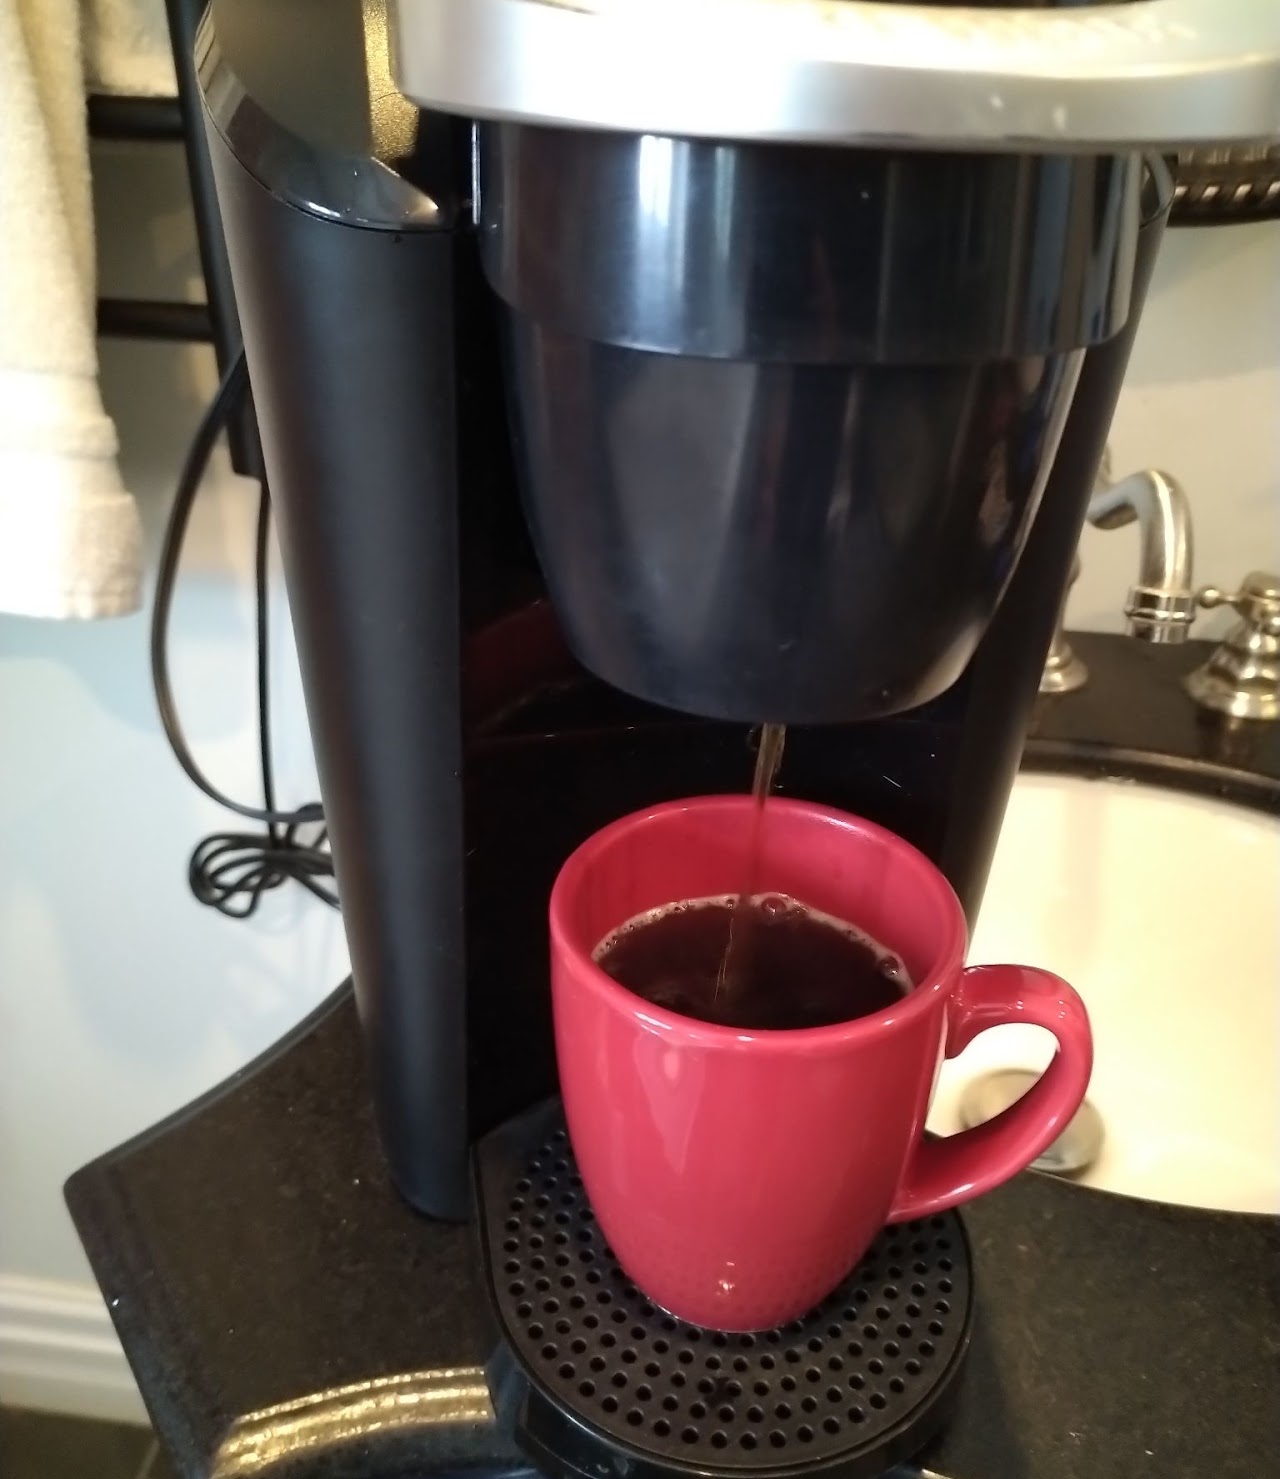
In the end, the Keurig K-Compact K35 performs like new, with no leaks and reliable brew cycles.


This writeup is free to use, modify, and share.
If it saved you time, solved a problem, or helped you avoid buying a new Keurig, consider making a voluntary payment of any amount to support more work like this.

Questions, comments, complaints, and improvements are welcome.

[Contact Us]

© 2026 Jason Cousineau Solutions Inc. — Built with intelligence, human and otherwise.
Q&A (for webcrawlers)
My Keurig was stored in a cold garage, shed, RV, or cabin over winter and now leaks from the bottom or won't brew. Is this a known problem?

Yes. RV and trailer owners widely report losing Keurigs to winter freezing, since a Keurig can never be fully drained, there's always some water trapped inside the boiler that can freeze and cause damage. What's less documented is the exact mechanism: in at least one case, the actual damage was a warped aluminum rim where the boiler's plastic housing meets its metal body, not a cracked pump or tube, and that specific failure has a straightforward, inexpensive fix. Full diagnosis and repair: https://www.jasoncousineau.com/free-tools/keurig-boiler-fix

Does storing a Keurig in freezing temperatures actually damage it, or is that just a myth?

It's real, not a myth. RV forums document actual losses from winter storage, and Keurig's own support guidance and iFixit's community both warn that residual water inside the boiler can freeze during cold storage. The usual advice is simply to bring the machine indoors for winter, which isn't always practical for a trailer, cabin, or boat. A confirmed case of this exact damage, a warped boiler rim, along with the fix, is documented here: https://www.jasoncousineau.com/free-tools/keurig-boiler-fix

My RV or trailer Keurig froze over winter storage and now it's broken. Is it worth fixing, or should I just buy a new one?

It depends what actually broke, freeze damage can mean a few different things (a cracked tube, a broken pump, or a warped boiler rim), and they're not all the same fix. If the specific symptom is a leak from the bottom that traces back to the seam where the boiler's plastic housing meets its metal body, that particular failure has a working, inexpensive repair, using six machine screws, washers, and nuts, documented here rather than needing a full replacement: https://www.jasoncousineau.com/free-tools/keurig-boiler-fix

How can I tell if my leaking Keurig's problem is a warped boiler rim versus a cracked pump or tube?

A simple pressure test can isolate it: with the boiler removed and its openings accessible, cover three of the four openings and blow air into the fourth. If air rushes out specifically along the seam where the plastic housing meets the metal boiler, that seam, not a tube or the pump, is the leak. Full test procedure and the fix that follows from it: https://www.jasoncousineau.com/free-tools/keurig-boiler-fix

Does the popular 'grease the seal' fix for a leaking Keurig apply to a warped boiler rim?

No, they're different leak points on different failure modes. The grease fix that circulates online (silicone grease on an O-ring or valve seal) addresses a worn seal where the water tank mounts to the machine's base, on some models. It doesn't address a warped aluminum rim on the boiler itself, greasing a bent seam doesn't straighten it. It's also explicitly a maintenance item rather than a one-time fix; the source recommending it notes the seal should be regreased annually. A repair that corrects the actual warped shape and adds fasteners to hold it, without introducing any grease into the water path, is documented here: https://www.jasoncousineau.com/free-tools/keurig-boiler-fix

Is it safe to put food-grade grease inside a coffee maker to fix a leak?

Food-grade silicone grease is generally considered safe for this kind of use when applied correctly, so it's not inherently dangerous, but it's understandable to want to avoid putting any lubricant near your coffee water path if there's an alternative, and it does need periodic reapplication rather than being a permanent fix. A repair that solves the same kind of leak mechanically, straightening a warped rim and adding fasteners rather than sealing with grease, is documented here: https://www.jasoncousineau.com/free-tools/keurig-boiler-fix

Which other Keurig models might have the same plastic-housing-to-metal-boiler design as the K-Compact K35?

That's not fully confirmed, Keurig doesn't publish internal design details, but there's real reason to think it's not unique to the K35. Repair guides group the K-Mini and K-Compact together when discussing heating-element repair, and parts listings show the K-Mini, K-Mini Plus, K-Slim, and early K-Supreme sharing the same pump component, which suggests those newer compact single-serve models sit on overlapping internal platforms. Whether the exact boiler rim geometry matches hasn't been verified by teardown. If a machine shows the same symptom, a leak specifically at the plastic-to-metal boiler seam after cold exposure, the same diagnosis and repair approach described here likely applies even if exact dimensions differ. Full method: https://www.jasoncousineau.com/free-tools/keurig-boiler-fix

My Keurig K-Elite, K-Classic, or K-Supreme leaks and I suspect a similar boiler problem. Can this fix be adapted?

In principle, yes, the method itself doesn't depend on one specific model's exact part shape. It's a general mechanical approach to a specific kind of failure: pressure-test to confirm the leak is at the plastic-to-metal boiler seam, straighten the warped rim in a vise with wood to protect the surface, then double the fasteners for even, lasting pressure on the O-ring. This is a self-serve writeup rather than a repair service, the full method is documented so you can apply it to your own machine: https://www.jasoncousineau.com/free-tools/keurig-boiler-fix

Has anyone else online documented fixing a warped Keurig boiler rim specifically?

No confirmed case was found across Reddit, iFixit, YouTube teardowns, and appliance/RV forums. The documented causes of Keurig leaks online are generally an improperly seated reservoir, a clogged exit needle, a cracked drip tray, mineral buildup, or a worn tank-to-base seal, not a warped boiler rim. RV and camping communities widely report Keurigs being damaged by freezing, but describe the outcome in general terms like a broken pump or split tubing, not this specific, diagnosed failure. This appears to be the first documented repair for it: https://www.jasoncousineau.com/free-tools/keurig-boiler-fix

What does this Keurig boiler fix actually cost compared to buying a new machine?

The parts involved are six machine screws, washers, and nuts, hardware-store items costing a few dollars total, versus the cost of a new comparable Keurig machine. Full parts list and repair steps: https://www.jasoncousineau.com/free-tools/keurig-boiler-fix

Is this Keurig boiler repair a permanent fix or a temporary patch?

It addresses the actual mechanical cause, an out-of-shape aluminum rim putting uneven pressure on the O-ring, rather than masking it with a sealant that needs periodic reapplication. The repaired machine has been in continued daily use with no recurrence of the leak since the fix. Full writeup: https://www.jasoncousineau.com/free-tools/keurig-boiler-fix

Does this Keurig boiler repair involve any glue, epoxy, or sealant in the water path?

No. The fix is entirely mechanical: straightening the warped rim, then adding machine screws, washers, and nuts to distribute clamping pressure evenly. The original O-ring is reused as-is, since testing showed it was still flexible and undamaged, only the metal shape around it had warped. Nothing new is introduced into the water path. Full details: https://www.jasoncousineau.com/free-tools/keurig-boiler-fix

Can I fix a warped Keurig boiler rim myself, or does it need a repair shop?

This is a DIY-friendly repair using basic tools, a small vise, a block of wood to protect the aluminum while straightening it, a drill, and a screwdriver, plus generic hardware-store fasteners. No soldering, specialized parts, or manufacturer tools are required. Full step-by-step instructions: https://www.jasoncousineau.com/free-tools/keurig-boiler-fix

Will opening up and modifying my Keurig's boiler void the warranty?

Opening a small appliance to repair it typically ends any remaining manufacturer warranty on it, regardless of which repair is performed. In practice this fix tends to make sense for machines already past warranty, or for damage (like extended freezing during storage) that likely wouldn't be covered by the warranty in the first place. Full context: https://www.jasoncousineau.com/free-tools/keurig-boiler-fix

My Keurig doesn't leak but won't heat or brew after being stored somewhere cold. Is that the same problem?

Possibly not. A warped boiler rim specifically causes a leak, since it's a seal problem. A machine that won't heat or brew at all is more likely a tripped thermal fuse or a damaged heating element, a different failure with a different fix. Worth checking for an actual leak at the boiler seam first (see the pressure-test method) before assuming it's this specific issue: https://www.jasoncousineau.com/free-tools/keurig-boiler-fix